Adding an Audit trail to publishable items
When publishing items to the LiveQMS, you have an indication of the internal revision of the item that is being published. More information about the internal revision and how the change log works can be found here.
In addition to the internal revision, it is possible to add a custom revision table. The revision in this table will show up as well in the LiveQMS.
To add this custom audit trail to an item category you need to do the following:
Add an Audit trail field to your item category
In order to add a field to an item category, you need to have admin rights.
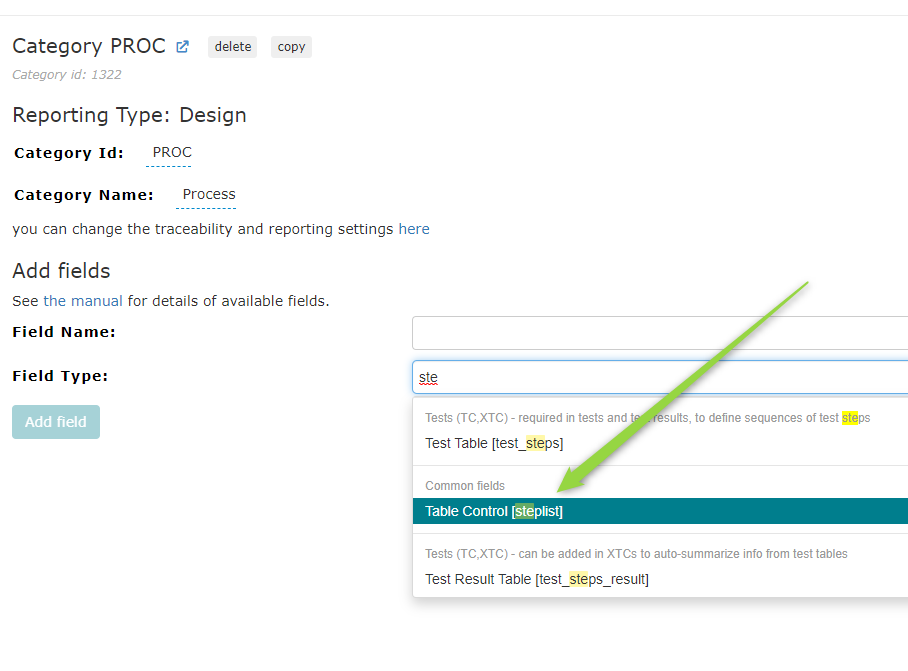
In the admin client, you go to the item category of choice and you add a field of type “Table Control (steplist)”

Field Type: Table Control (steplist)
You can call it Audit trail or any other name of your choice.
2. Configure the Audit trail table
When you add a Table Control field, you need to define the different columns.
For this specific Audit trail you need the following two columns:

Configured Table Columns for Audit trail
3. Modify the Item Approval label
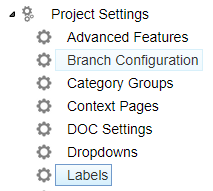
In order to modify the Item Approval Label, you have to go to the Project settings → Labels

Project settings → Labels
And click on the Advanced button

Advanced button to modify the code
There you have to add the following to the code
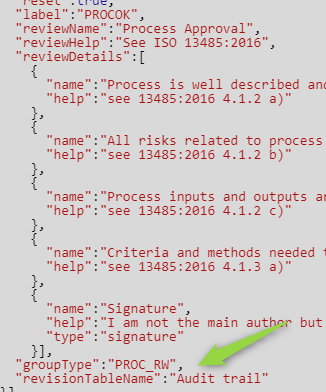
"revisionTableName": "Audit trail", (with the actual name of the audit trail table you added) and Save.

Add “revisionTableName”:”Audit trail” to the code
Note: Make sure you add this to the correct Design Review Label (in this example, we took the PROC items and the Design Review Label is called “PROCOK”.
After completing these steps, you can add the audit trail information in the individual items before publising.
Once published, the audit trail information will be shown in the history information next to the title of the item in the LiveQMS

History information of the published item in the LiveQMS. (1) is the internal revision as appears in the change log and (2) is the information from the custom Audit trail table
