PRINT Project Helper - User Instructions
This Plugin is the perfect way to get started, when you want to dip your toes into the deep waters of the PRINT functionality. The Plugin comes with two different functionalities, which will both be explained below:
Automatic BLOCK generation per project
With this automation you can generate BLOCKs automatically for each existing field in the selected project. To create the BLOCKs navigate to the folder you’d like to put the items in or create a separate folder in the BLOCKs section, if desired. In the folder overview you click on the Tools Menu in the upper right corner and select “Generate BLOCKs for project”.
{insert screenshot}
This will open a new popup window, where you can select the project, you’d like to create the BLOCKs for.
Note: If you proceed, the save comment window will appear, and I would recommend to save the comment for this process, otherwise you will need to enter the comment for each BLOCK created, which would be quite extensive depending on the complexity of the project selected.
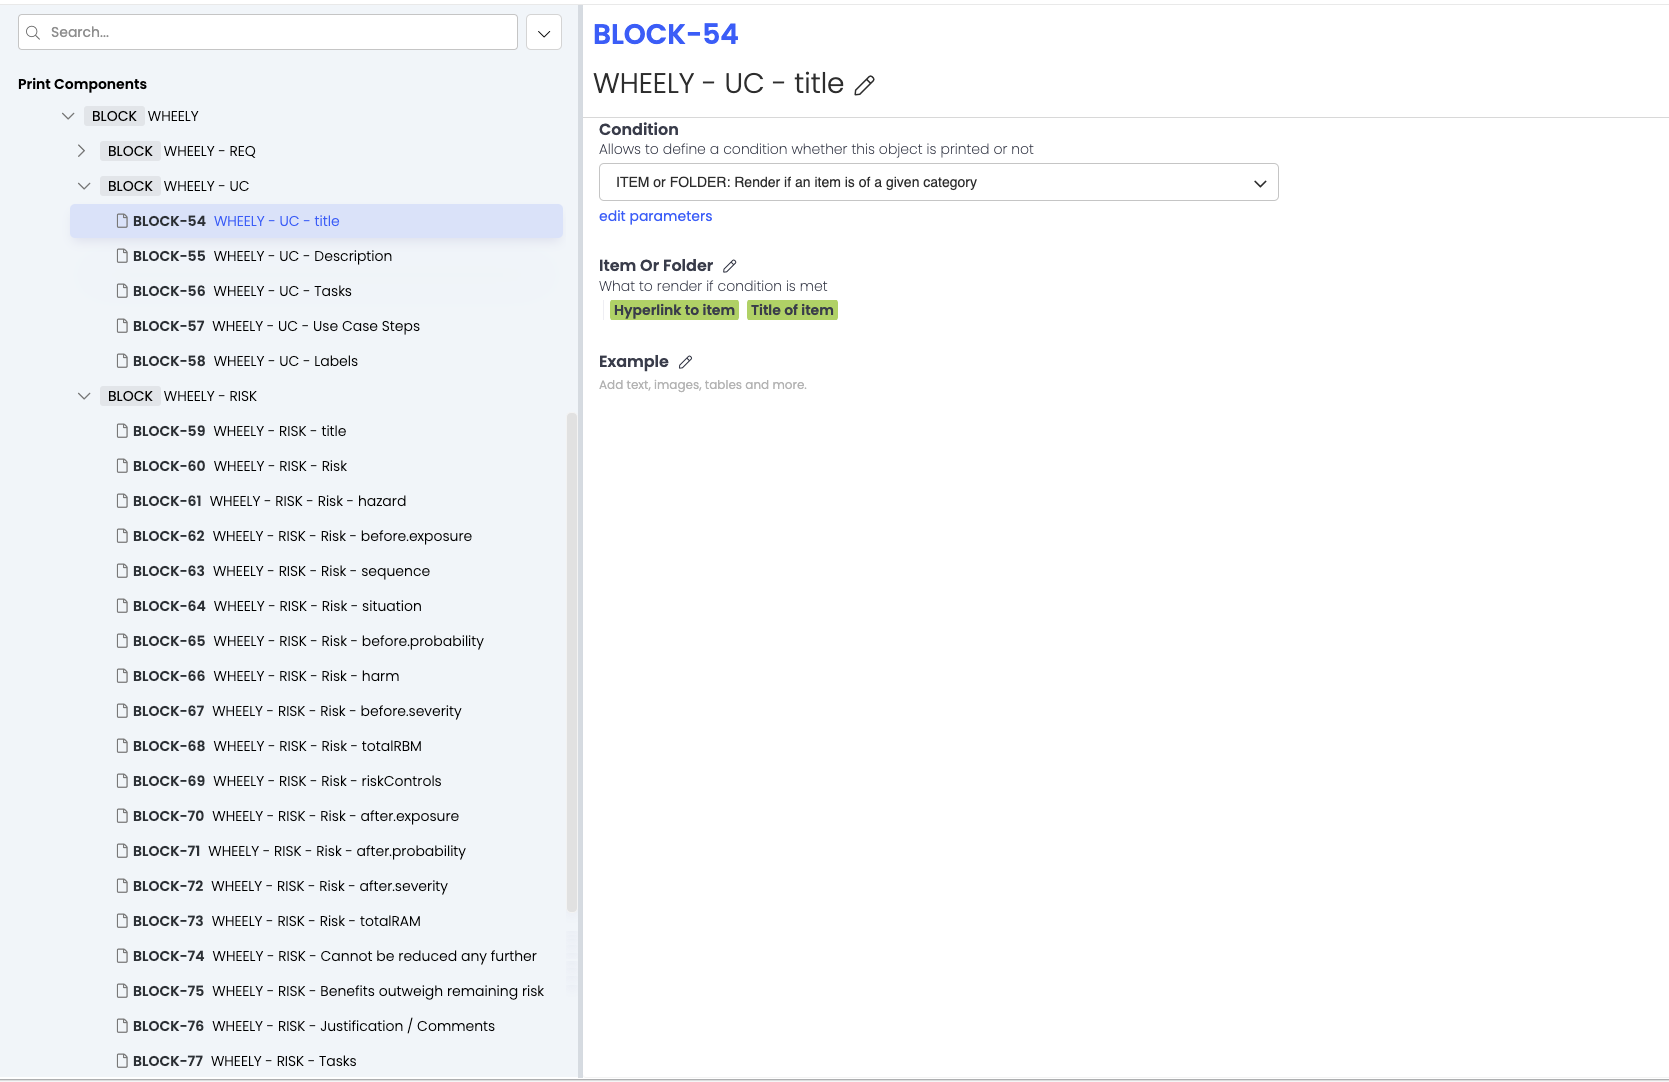
You’ll see that the Plugin will then begin to create BLOCKs for each field. Once it is done the structure of result will look like this:

Categories are turned into folders and each field is turned into a BLOCK referring to the field name in it’s title.
This will also provide you with a very extensive RISK configuration based on your RISK setup.
Adding multiple BLOCKs, TRACEs, FIELDs, SUBTABLE to TABLE at once
With the standard PRINT function you can only add one item at a time to a TABLE. By using the PRINT editor you can bulk add multiple items at once and then sort them by drag and drop. To add multiple items, navigate to the TABLE, click on the Tools Menu symbolised by the three dots in the upper right corner and select either “Add multiple BLOCKs/TRACEs/FIELDs” or “Add SUBTABLE”
{insert screenshot}
In the popup window, that opens, you can then multi-select the items you’d like to add to the TABLE.
{insert screenshot}
